News - Black Mous Faction Tier 4 Mission Guide For Warzone 2. 0 Dmz (dmz Tips & Tricks)
Intro

Guy is going to have seven total missions out of the first six, and you have to complete five of them in order to unlock the final one, and once you complete that guy, it will unlock the last and final tier, which is tier five now.
Paper shredder
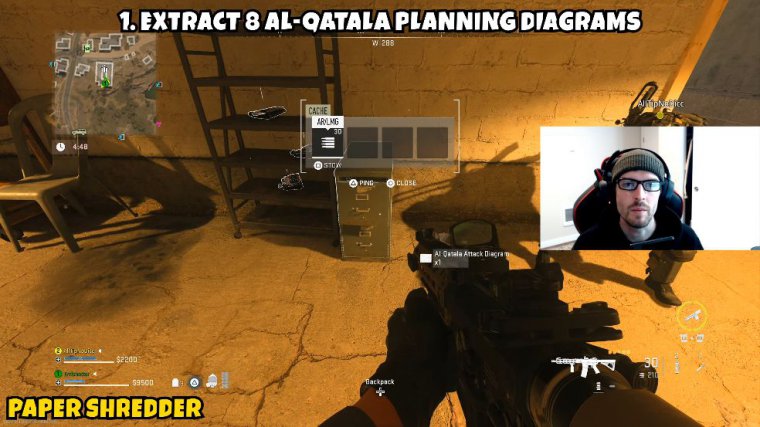
Alright, so first up, we have a paper shredder. This guy's going to be a three-parter; part one is asking you to extract eight alcatala planning diagrams.
Now the planning diagrams are fairly large in size; they are typically dropped by killing enemies but mostly found in filing cabinets. Now, these are actually quite annoying. To find them, I spent quite a bit of time actually collecting them because they are just so much more rare than some of the other items in the game.

I did go to locations where I found filing cabinets to be pretty frequent, which were the reset and apply areas anywhere that you see a little resupply icon typically. The buildings like that do have at least two to three filing cabinets, so make sure you're checking those when you're there because that was my best luck: just looking in the filing cabinets to find these on a shelf.
I actually found them on the ground, or, for that matter, anywhere else. I think it is possible to find them on shelves, but the only time that I actually did find one on a shelf, it actually appeared invisible, so it's likely you're going to be overlooking those. I will say that one location I was pretty successful in finding a few of these was actually in the chemical building over at the quarry, which is locked via key.
If you do manage to have the key, you guys can obviously check on it, and maybe you'll get lucky just like I did. Part two is going to be a lot easier, but it is very similar to asking you to extract eight alcatala. Planning photos like these are way more common in a single match. I found up to four or five of these just by looting through buildings, and even looking in places similar to the diagram, such as the filing cabinets.
I was able to find those in there as well, but most of the time I did find them on shelves, either wooden ones or metal ones, that were found around the map. These were quite consistent, and again, something you can find on enemies as well, but these are overall not too big of an issue to find. Part three is asking you to extract four pieces of black moss Intel; this is actually something you already have done in the past; you just needed two; they're going to be found in the buildings.
I stick to the outskirts of Rohan Oil because that's exactly where you have to be to find these, but I was able to find actually four of them in a single run just by kind of ballooting around Rohan Oil and looking on the shelves.
Harmful waves

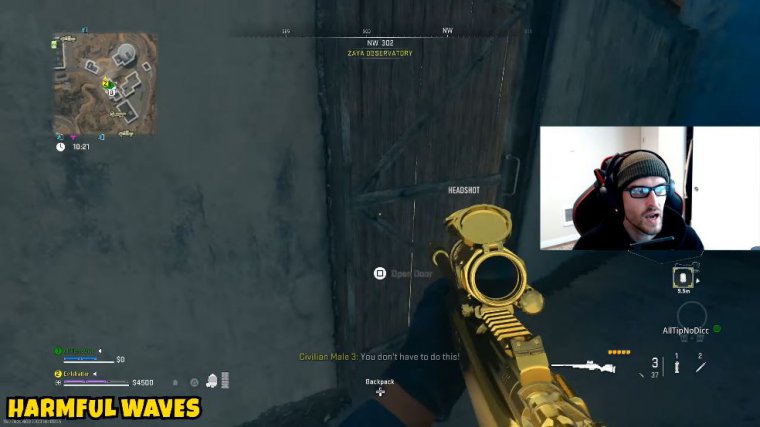
Now, next up, we have harmful ways. This guy's going to be a one-parter, and it's actually kind of a pain that he's going to kill 35 enemies with a suppressed, designated Marksman rifle with a headshot at Zaya Observatory at a range of less than three meters, so basically you have to get point-blank kills with a Marksman rifle with the suppressor on it, and it's not going to be easy whatsoever as Zaya Observatory tends to have quite a few armored individuals, but.
The main goal here will be to go up there with a squad and make sure you bring a ton of plates. That way, you're well set up for success. You're going to want to just run at the enemies, get as close as possible, and essentially try to quick-scope them in the head. If you manage to knock enemies down, you can run up to them, and it will make easy work of this because you'll be able to obviously just aim at the head real close up and they're not going to really shoot you much except for with a pistol, but I also was very successful by stunning the enemies running up and just being able to aim at their head and shoot them.
This will take a little bit of time. I definitely recommend using the tacm, as I was pretty successful with it, but I did find success with the SP as well, overall. Don't push your luck though, because you will get taken out quickly and have to return all the way back to this area.
Eye in the sky

Next up, we have "Eye in the Sky." This is going to be a one-parter, and it's not overall that difficult. You just have to do a couple of things in order to make it a bit easier. That's going to dilute five air-plane supply drops in one deployment. This accounts for about 60 percent of the amount you need.
I found the best way to do this was to go in immediately and hit a Sam turret. The turret managed to obviously shoot one plane down, which dropped an airdrop, and I think it even managed to shoot a second one down. I was kind of confused as to whether it was mine that shot it down or there was another team that called one in and they shot one down, but either way, two Sam turret drops came in.
I went and visited both of those locations, and then I went to the three supply drops that were dropped by the plane later in the match. It's important to note that whether or not somebody else has looted is not relevant. All you have to do is go to the supply drop itself, open it up, and even if you don't take anything from inside or someone else takes all the items, it will still count towards your progress.
You've gotten five supply drops in a single match; this part will be complete. It's also important to note that the commander Helo will also drop a supply drop; this does count as.
Silent and deadly

Well, next up, we have a silent and deadly This guy is going to be a two-parter. Part one is asking you to kill 50 enemies with a suppressed Fennec 45 with a Fenix double tap mod attached. Of course, you want to make sure you have a suppressor on and then equip.
The double tap mod The hard part about this only is the fact that the double tap mod makes it fire two round bursts and it only has a 12-round magazine. So obviously, when you're fighting bots, with the weaker bots. Reload in order to get your eliminations, and then obviously if you switch weapons, it won't count, so you're going to want to be able to utilize the fennec in every single elimination that you can go for.

Two is going to be a little bit more challenging, however, because it's asking you to kill 21 enemies. With melee, I found the best way to go about this was to equip the throwing knife because it allowed me to have two different weapons that I'm actually equipping a knife for. I don't really like gunbutting the enemies; it's kind of a pain, but allowing me to have the throwing knife equipped made it so that instead of gunbutting them, when I had my weapon out, it was actually still stabbing them with a knife, overall making this challenge quite a bit easier.


