News - How To Get Epic Aether Tool, Refined Aetherium Crystal, And Elemental Pop Call Of Duty Warzone 2 Zombie
I'm just ignoring every single zombie in the game right now. We're going to go through, we're going to shoot all these little egg-type deals that we went and ran, and we're going to do the exact same route that we already did. And just keep on moving, so we got a big group of zombies, and I'm not going to allow them to get me flustered or anything because I know that once I finish the Spore Control contract, they're going to stop spawning.

Except for the dogs, I will turn around and take them out just because they are quicker than me and they can be a little bit annoying to deal with. And it would help if I hit my shot right there too. So even then, we're going to keep moving. So I'm going to take this zip line, and then I'm going to go back to where the reward is, and I'm just going to hit the reward, look what's in it, put everything in my backpack, and just get out of the area.
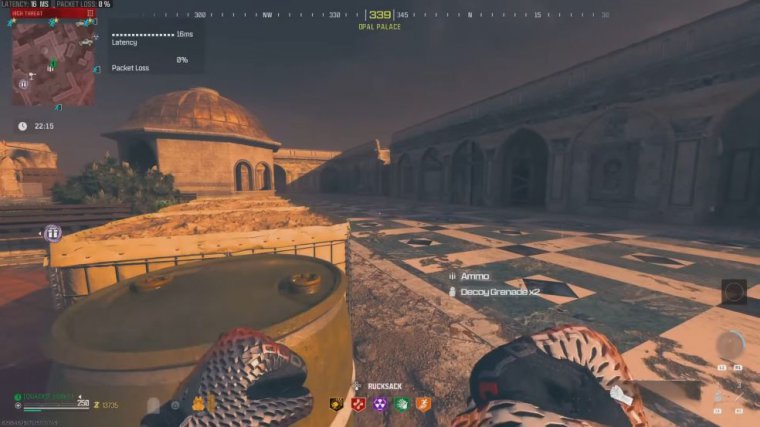
And then another thing you can see is that there are still a bunch of zombies here. Let's just go ahead. We'll throw a decoy grenade on the ground to get them away from us. Look what's in there. I didn't really get too much, but I'll go ahead and stack these items, and then we'll just get out of the area.

There's no reason to stay here, so I'll go ahead and pick up the next contract that I feel is the easiest to do and show you what that looks like. So this is going to be the only part of the article where it really isn't a live commentary for whatever reason I lost my audio here it wasn't picking up my mic, but I'll go ahead and walk you guys through what I was saying here one of the other easy contracts to do is definitely get to be the raid weapon stash and the primary reason is because you have a rather big area where all you had to do is just kind of maneuver around and run around without going down, it is going to spawn a ton of zombies like you guys are seeing there but if you just don't stop moving around the area, making sure you're taking High Ground, going up the ladders, and just jumping around and never stop moving.

This contract is not that difficult to complete, you will have the oneoff scenarios where a zombie is going to be where you're not expecting them to be and they'll catch you off guard and they can down you that way but it's pretty rare for that to happen and if you have decoy grenades or you have your ether shroud ready to go it's going to make it pretty easy to do, so all you're seeing me do here is I'm just trying to Showcase that you don't have to shoot your weapon and boom right there that's a scenario where I don't know why that zombie is there so he's just in one of those random oneoff scenarios but I just ran around him and just kept moving I'm kind of following the exact same path and staying away from these zombies and avoiding them the best that I can.
So you guys can kind of see here that even in a dicey scenario, all you have to do is just kind of reposition yourself, put yourself in a better type of area, and then get back to where the contract is. I am slowly going to be losing some percentage here, but it doesn't go down that fast, so it's not like it's that big of a deal when you have to reposition like that, but due to the fact that you really don't have to shoot your weapon and you can just use your movement and mobility around to complete this contract, it's not that hard to do in the Tier 3 Zone.

Plus, I released a article about a week and a half ago now showcasing what the five best contracts are to do in order to unlock schematics. I did a ton of testing to figure out which contracts gave me the best schematic drop rate, and I figured out that the raid weapon stash is one of the better ones.
So I definitely recommend doing this contract in the Tier 3 zone. And just like that, we just finished the raid weapon stash, we threw a decoy Grenade on the ground, and boom, just like that, we have the refined ethereum diagram, which is exactly what we're looking for. This is one of the better contracts, and it's not too hard to do, so we'll go ahead and pick up the next contract and showcase why it is one of the easier ones.

So the next easiest contract, by far is going to be the supply run contract, this is going to be the easiest to do in the tier three area because you really don't even have to shoot your gun if you do not want to all you're going to have to do is deliver a cargo contract to a specific extraction point, and it's extremely, extremely easy to do in the tier three zone, so we're to go ahead and pick this up we're to try to get the zombies out of the way the best we can, open up this garage door and then we're to do another loop like you see me do right there that's one of the easiest ways to get the cargo con I mean the cargo vehicle out of the garage is follow this exact loop I have no idea how they just hit me there that's actually crazy.

So they're going to chase me up top here, and then we can just drop down and get the vehicle. And then get out of the area we almost went down there that got a little dicey, and then this is the exact path that I like to follow for doing this if you guys have seen my ray gun schematic article you know exactly what we're doing here I've did this contract, easily 200 300 times to just sit here and farm tier three contracts, the only issue is that it doesn't have the best schematic drop rate but it's hard to complain with doing this contract just CU of how easy it is to complete no matter what the drop rate is so we're going to go ahead we're going to drive it over here to the extraction point where to see what we can get here we already have one of the schematics that we could get in the tier three zone so there's nothing to complain about right now but you never know we could always get the ray gun schematic or something even better, so see gave us another self-revive and we'll take that some armor plates and then after you hit the reward just get out of the area and then move on to your guys's next contract.
So the next contract that I'm going to recommend doing is going to be the outlet contract. This is going to be virtually identical to the raid weapon sash. We're just going to need to stay in this area, and as long as you just keep moving, you really shouldn't have any issue surviving. When doing this, you basically stay in this small, confined building here, and I may shoot my gun a little bit here whenever there's not a bunch of zombies, just because it's not that hard to do to defend this area and if I can keep some zombies away from me to make my life a little easier.